
Large artworks can be rather costly, yet one shouldn’t compromise by covering a large wall with art that’s too small. Here are options for that wall above your couch or in your bedroom.
1 Canvas
Whether it’s one or a trio placed next to each other, canvases can fill a large wall easily. There are places where you can get canvases printed with photography, but for something a little different, buy a few box canvases and give the kids some paint and brushes and see their work become the feature of a once bare space.

2 Wallpaper
It’s not a new concept, yet has quite an elite price tag attached to it. That’s why, when you have a single wall that needs a spruce up instead of an entire room, wallpaper starts looking a lot more approachable. Many decorators use wallpaper as a modern mural behind the bed or even in bathrooms. When covering a large wall anywhere in the home, wallpaper adds charm without needing much else. Many companies even provide various types of paper, each giving a different finish.

3 Mural paints
Okay, so with these, the options really are endless. You can go for something simple, such as drawing a messy freehand line down the middle of the wall and painting either side a different colour, or designing something more intricate, either freehand or traced. Find a colour palette and stick to it when creating designs on your wall – you want to keep it sophisticated rather than it looking like your kids discovered the art-supplies drawer.

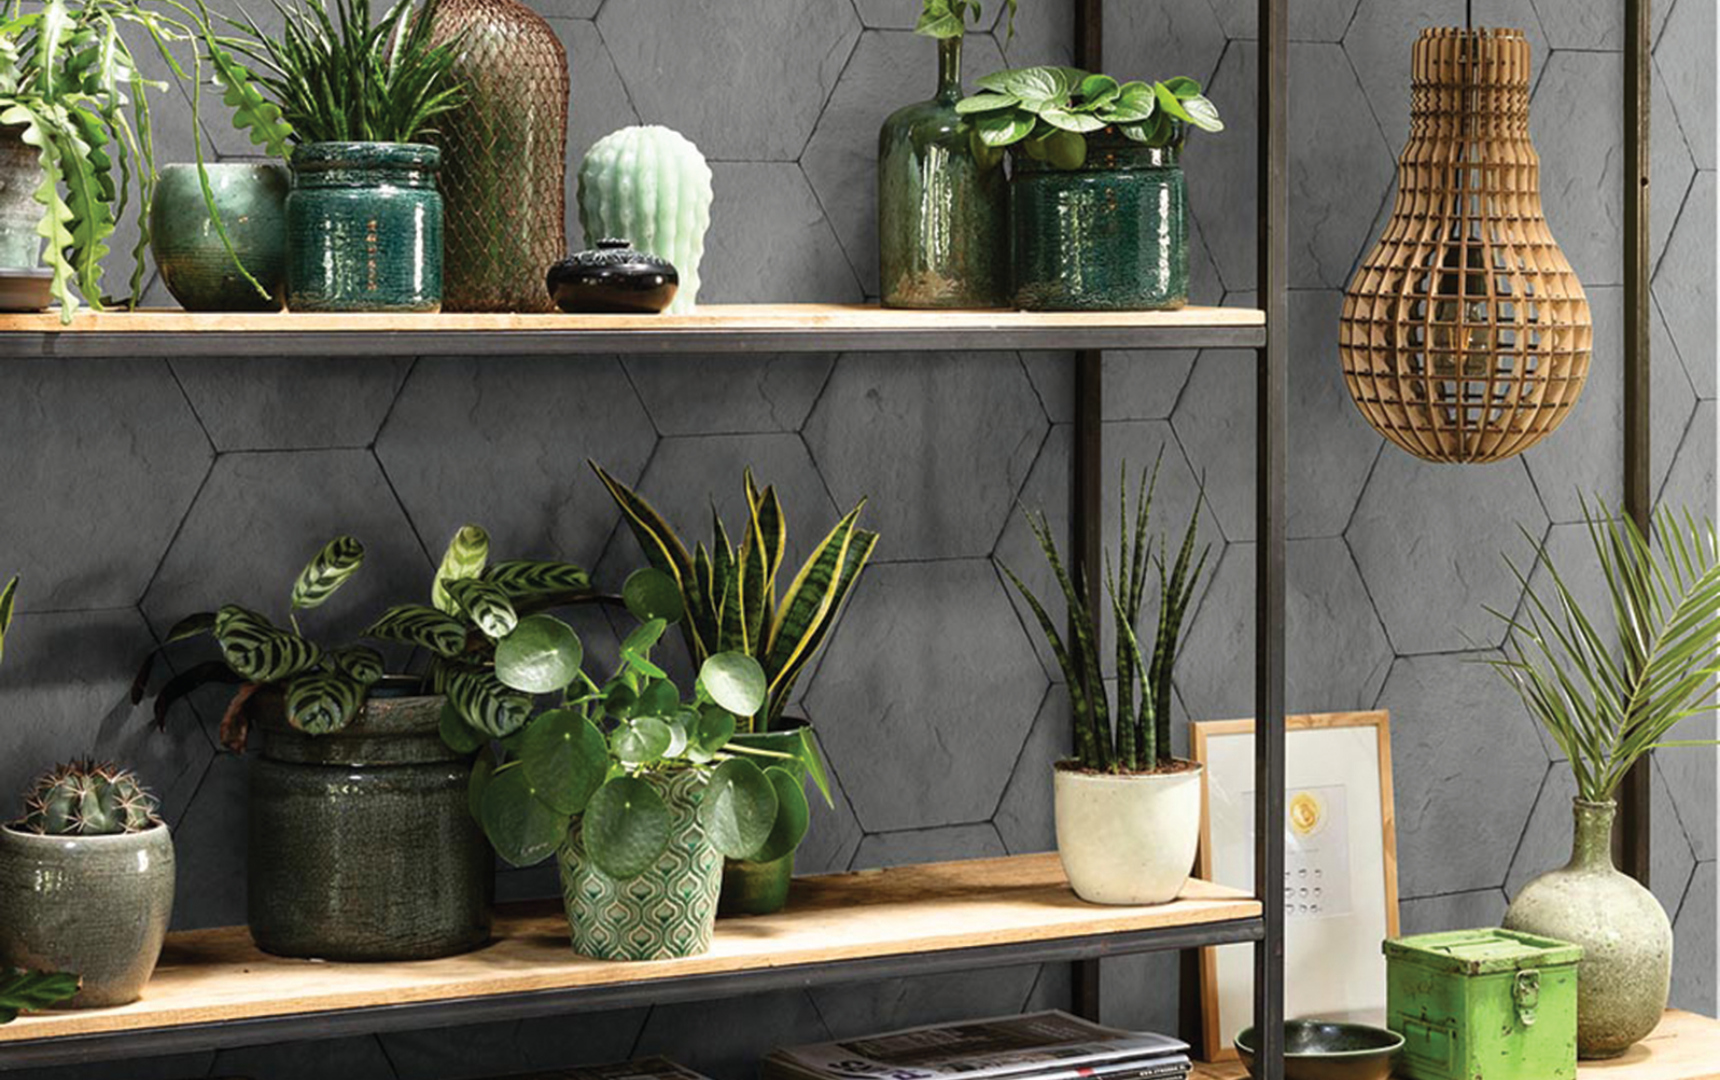
4 Shelving
This can be freestanding-, built-in-, or wall-mounted shelving units. If you opt for mounted shelving, use several, evenly spaced, one above the other or alongside each other, to cover the open space without having solid wall-to-wall shelving. Mount two 120 cm floating shelves in the centre of the wall with a 10 cm space between them.

5 Wainscoting
Panelling typically doesn’t span the entire surface area of a wall (the rule is that it should cover only one third) but adding any type of wood panel creates a decorative feature. It’s simple to install, too. Working with the standard ceiling height of 2.4 m, a third would be 80 cm. Draw a straight line at this height along the wall using a spirit level for guidance. Fix a cornice plank along the top of that line. Wood panelling looks best when skirting is used. If you have a space with no skirting, simply use the same wood as your cornice. Measure the length between the top of the skirting and the bottom of the cornice and cut several planks (we opted for seven here) to fit vertically between them, spacing the planks evenly. Use a spirit level to ensure everything is straight before attaching the wood to the wall using a nail gun. Cover the nail holes with wood filler. Then, lightly sand, prime and paint the wainscoting. Use painter’s tape around the panelling to ensure no excess paint gets onto the walls.

Words: Robyn Lane | Photography: Freepik, Courtesy images, bureaux