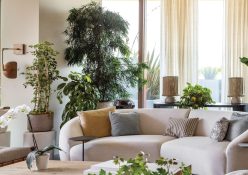
This is not your average indoor plant project: creating a tiny ecosystem of exotic plants, complete with its own climate and water ways, will whisk you away to a dreamy place.
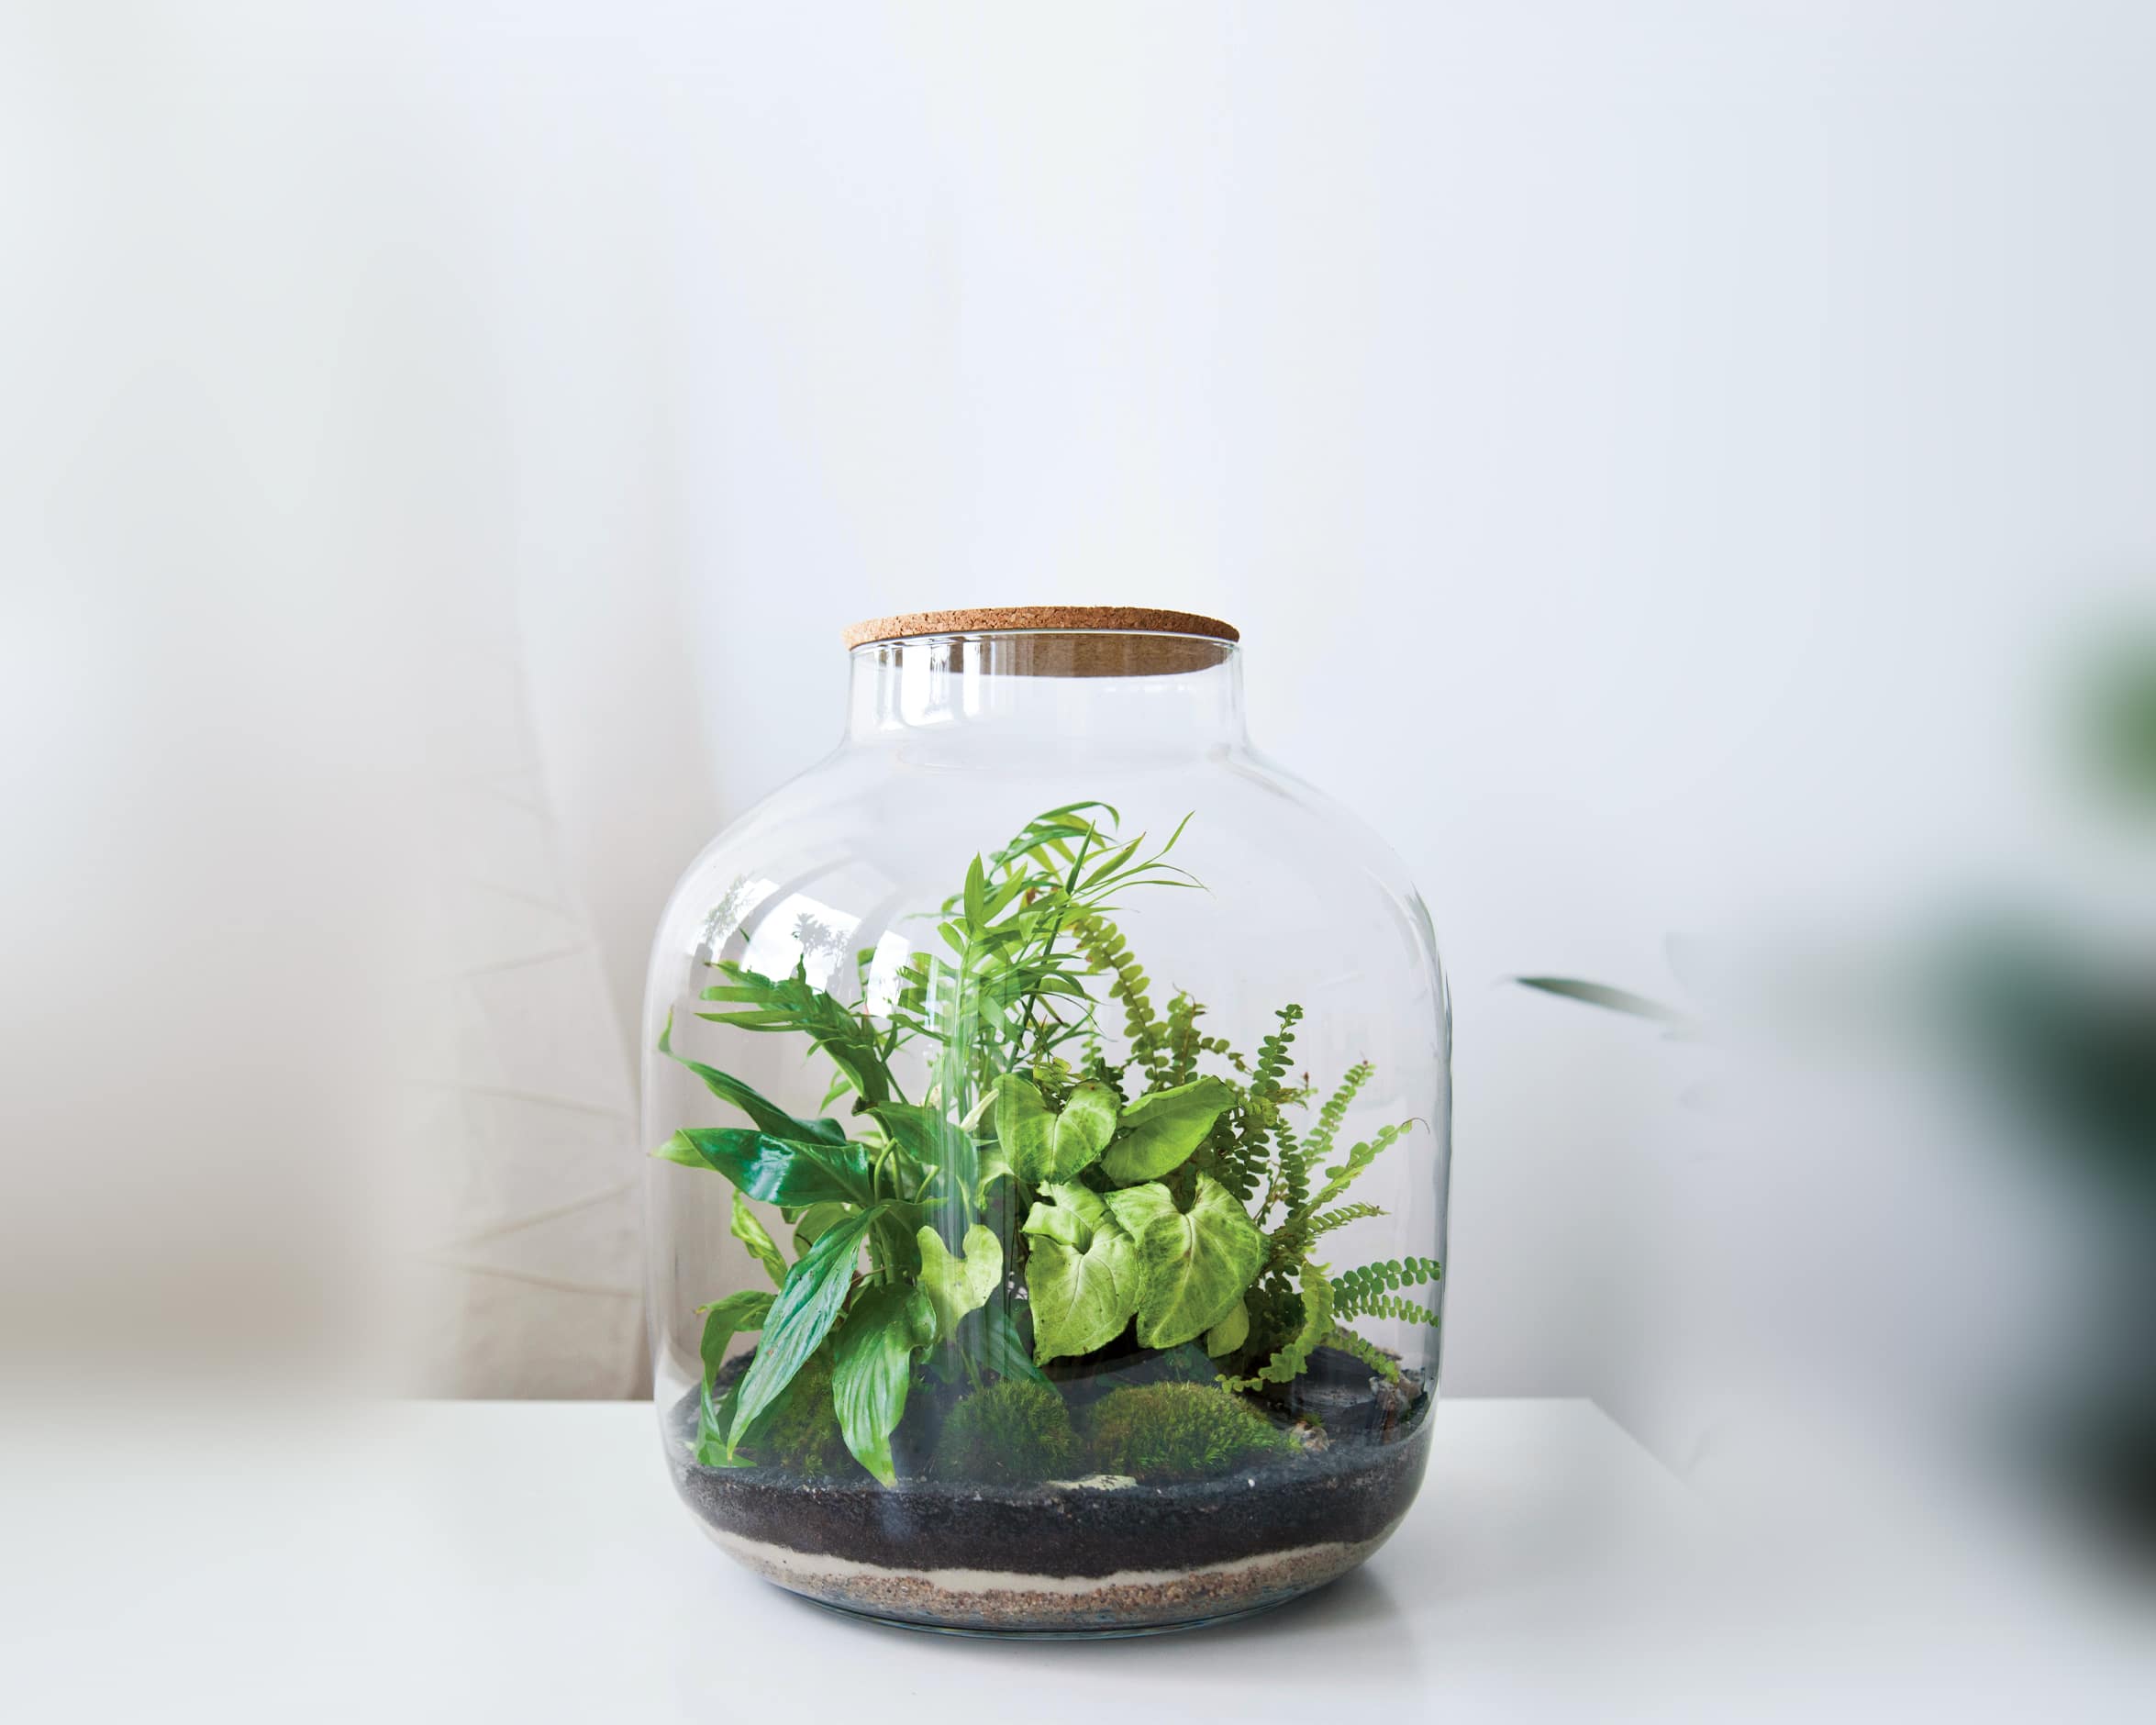
A terrarium is a small indoor garden housed in a sealable glass container. They can be any size and shape and often hold plants that rely on moisture to survive. This style of gardening has become so popular that ready-made terrariums are widely available, but there is something magical about creating this little land of whimsy yourself. This small, humid environment allows you to expand your indoor plant collection to include mosses, orchids and sensitive ferns.
1. Gardening tools
Round these up before you start gardening:
Container: Select a clear glass vessel that has a tight-fitting lid. You want to seal in the moisture to create the humidity the plants need to thrive. Scour your home for jam jars or big bottles – any size will do, as long as your plants will fit inside with some room to grow.
Plants: Choose small plants that will thrive in a humid environment, such as peace in the home or hypnum moss.
Pebbles or crushed stone: This layer will keep excess water away from the roots. Mesh This will prevent the potting soil from sinking down into the pebbles. Consider using gauze, shade netting or a fabric shopping bag. Potting soil Houseplant potting soil (without fertiliser) will work just fine. Spoon To scoop the soil into the container.
Long tweezers or chopsticks: To place the plants easily.
Mister: To increase the humidity.
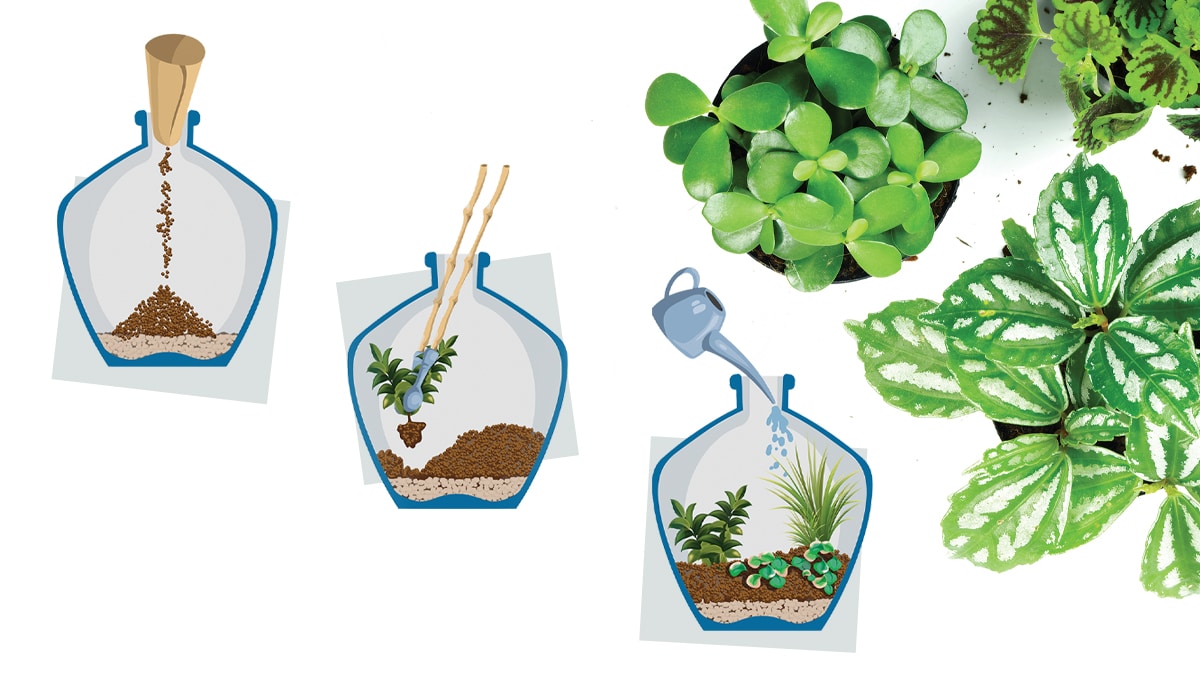
2. Get Planting
When making a terrarium, the preparation is just as important as the planting:
– Clean the glass container with paper towel and rubbing alcohol on the inside and outside to remove dirt and fingerprints.
– Create an even layer of pebbles about 2cm thick.
– Cut out a circle of mesh that is slightly bigger than the base of the container.
– Line the pebbles with the mesh.
– Arrange a thin layer of soil at the base of the glass jar and then place your plants on top. Use the chopsticks or tweezers if necessary! Consider how the plants will grow and the angle from which the terrarium will be viewed before settling on a layout. It’s a good idea to put the taller plants in the centre and build the garden out from there.
– Cover any exposed roots with the soil and gently press down to secure the plants.
– Add any other elements, such as bark or moss, and water the terrarium. Give it a light misting to settle the plants into their new
3. Stayin’ Alive
Check in on your terrarium frequently to make sure these three elements are in harmony:
– Keep it away from direct light. Many plants suited to these mini greenhouses come from the understory of tropical forests, so they need only medium natural light. Exposed to direct sunlight, the temperature inside the terrarium will rise to a fatal level.
– Control condensation. Spritz the plants with water every two to three days. If the glass gets foggy, remove the lid to let this extra moisture escape. It’s good practice to do this once a month.
– Do some landscaping. Be sure to remove dead leaves, prune any unruly fronds and replace plants as they die or outgrow their small home. Keep the glass clean by attaching a small piece of sponge to the end of a chopstick or spoon and wiping away the dirt on the inside.