
Whether your taste is bohemian rhapsody or merry and bright, we’ve got some creative and economical ideas to spruce up your décor for the festive season.
From handmade adornments to uses for everyday items, we’ve unwrapped a box full of creative ideas to refresh your festive season decorating. Trust us, yule love them all.
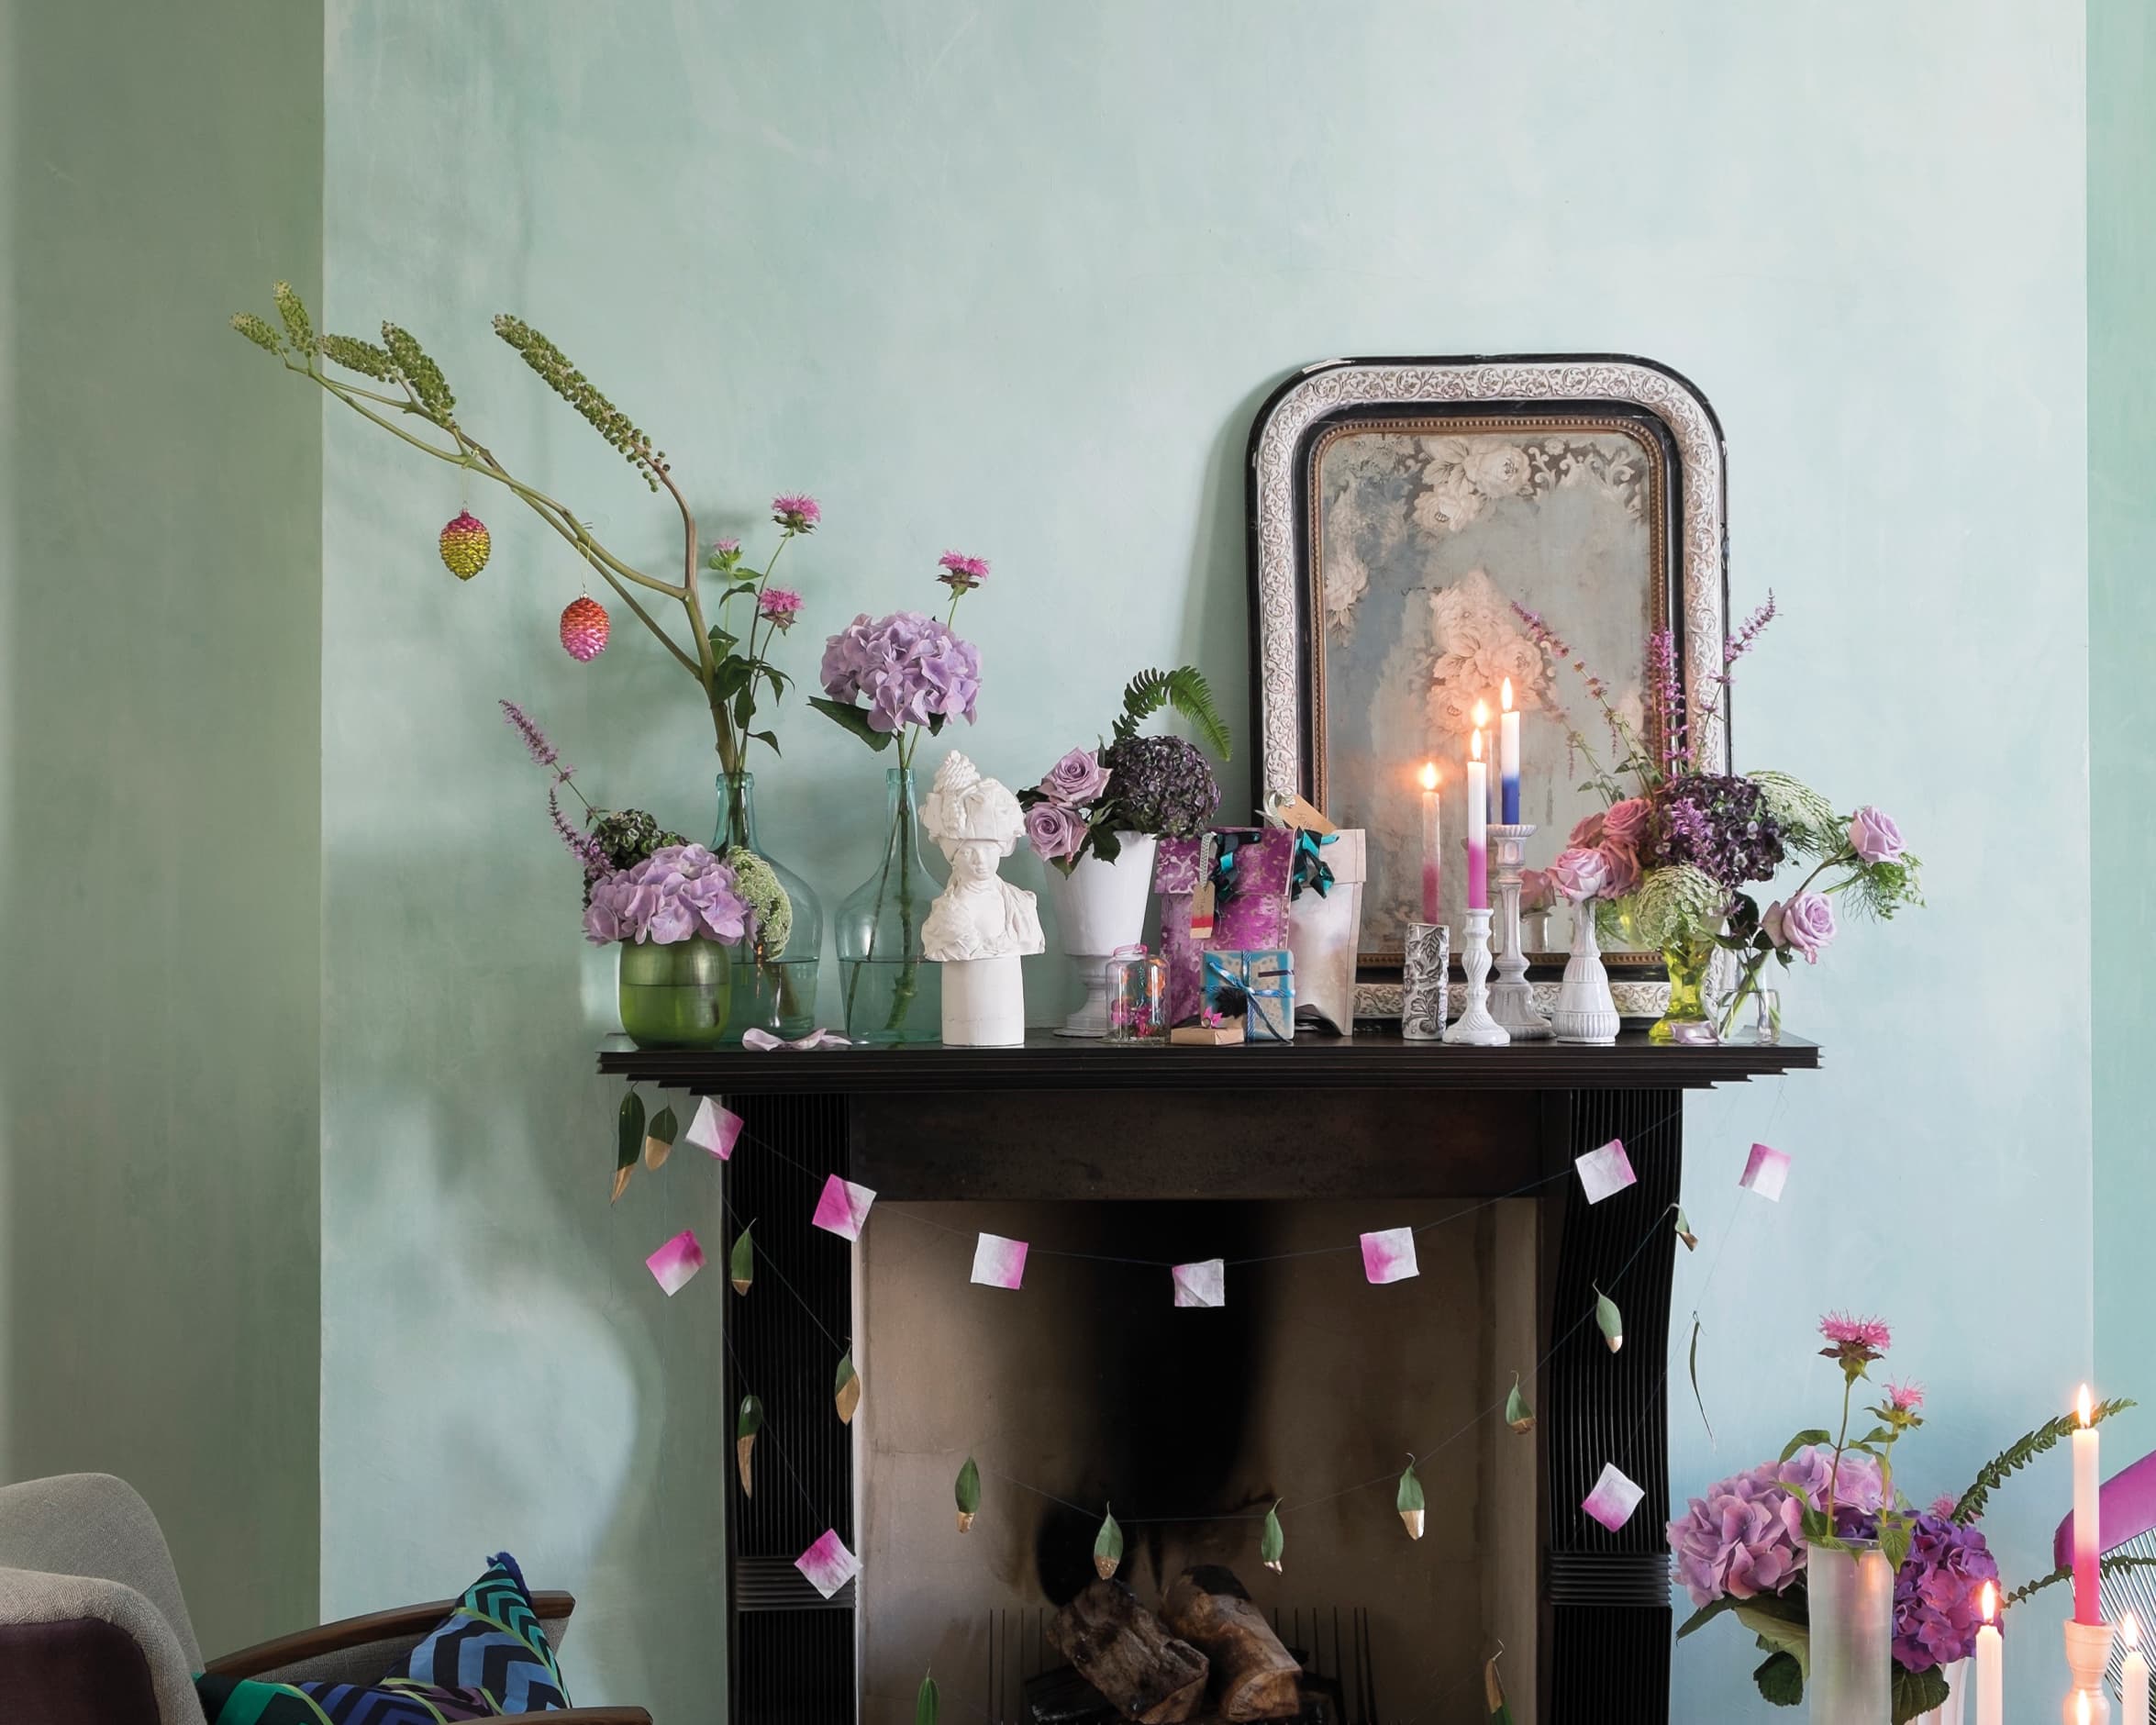
1. Bohemian Rhapsody
Set the scene for a personalised Christmas that celebrates creativity, thrifty repurposing and crafty tweaks to give old objects a new life.
The idea
Fancy candles can be eye-wateringly expensive. Impress your guests with a quick DIY that’s merry and bright!
How to
Spray-paint the bottom ends of traditional white tapered dinner candles in shades of Pop Art pink and blue – or whatever works with your decorative theme.
The idea
Have a drawer full of paint swatches? Create colourful garlands to string across the fireplace, on a wall or to drape around the Christmas tree.
How to
Cut paint swatch cards into square pieces following the natural divide between the shades. Use a paper punch to make neat holes and string them up with festive twine or ribbon.
@styledby.rhonda because who doesn’t want to get a little cozier this time of year 🥹 #bohohomedecor #cozyathome #interiordecor #stylingtips #interior #bohemiandecor #apartmenttherapy ♬ trees and flowers by strawberry switchblade – isaiah g
2. Merry & bright
The idea
Level up your pinecone game with some spray paint. Neons, pastels or neutrals? That is the question…
How to
- Experiment with colour-blocking, ombre colour grading, metallics or solid shades by choosing spray paint in a few complementary – or artfully clashing – bright colours.
- Be sure to do your spraying in a well-ventilated area.
- Dab a paint brush into fine glitter and add sparkly highlights to the pinecone while it’s still marginally wet.
- These can be hung up by attaching metallic string or thread, stacked in a clear glass vase or scattered on flat surfaces as part of a festive vignette.
Top tip
Remove the plastic or metal caps and hanger string from broken or worse-for-wear Christmas baubles, balls and ornaments and stick them onto your pinecones (or any other handmade festive decorations) using superglue or a hot glue gun.
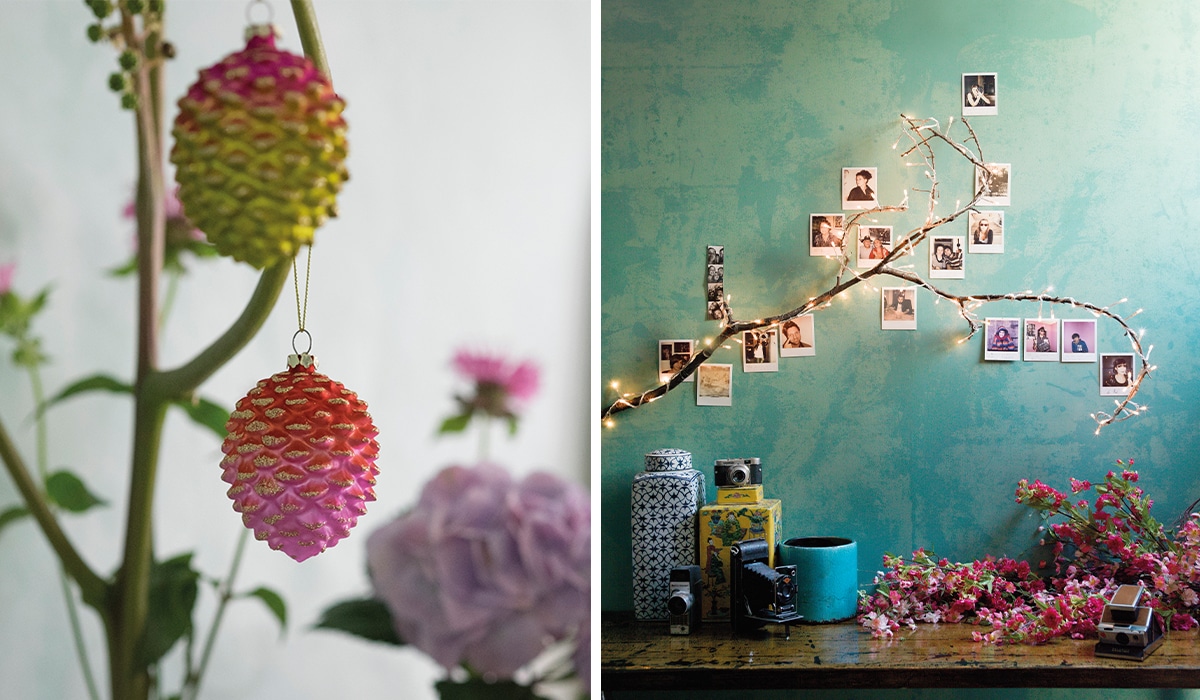
3. Branching out
The idea
Get those graphic Christmas greeting cards out of the drawer and give them a starring role in an eye-catching, colourful and delightfully personalised display. How to
- Gather an armful of dried twigs from the garden or offer to prune the neighbour’s tree until you have a generous amount of foliage.
- Attach your cards using mini craft pegs or small bulldog clips. You can also use a hot glue gun, sticky dots (from the stationery store) or double-sided tape to adhere them to the twigs for an eclectic arrangement.
Top tip
Intersperse greeting cards with instant photos, art postcards and mini hand-drawn children’s artworks.

4. Play D’hoho-ho
The idea
Chances are, if you have kids, you have airdrying clay that’s almost past its sell-by-date in a container somewhere. Haul it out, grab the festive cookie cutters, a few markers and create cute ornaments or gift toppers.
How to
- Roll out the air-drying clay to a thickness of 1.5-2cm.
- Stamp out shapes using star-, Christmas tree-, circle- (for baubles) or other cookie cutters. • Poke a small hole near the top of your shapes using a needle or skewer. Make sure it’s wide enough to thread through a piece of string or ribbon once it’s dry.
- Allow the clay to dry fully, then add simple graphic detailing with permanent markers and paint pens. You can also include a little bling in the form of metallics.
- Use a toothpick, skewer or clay tool to add texture and pattern to the shape.
- To ensure longevity, apply Dala Acrylic Glaze in gloss or matt or Spraymate Clear Lacquer (from most art or hardware shops).
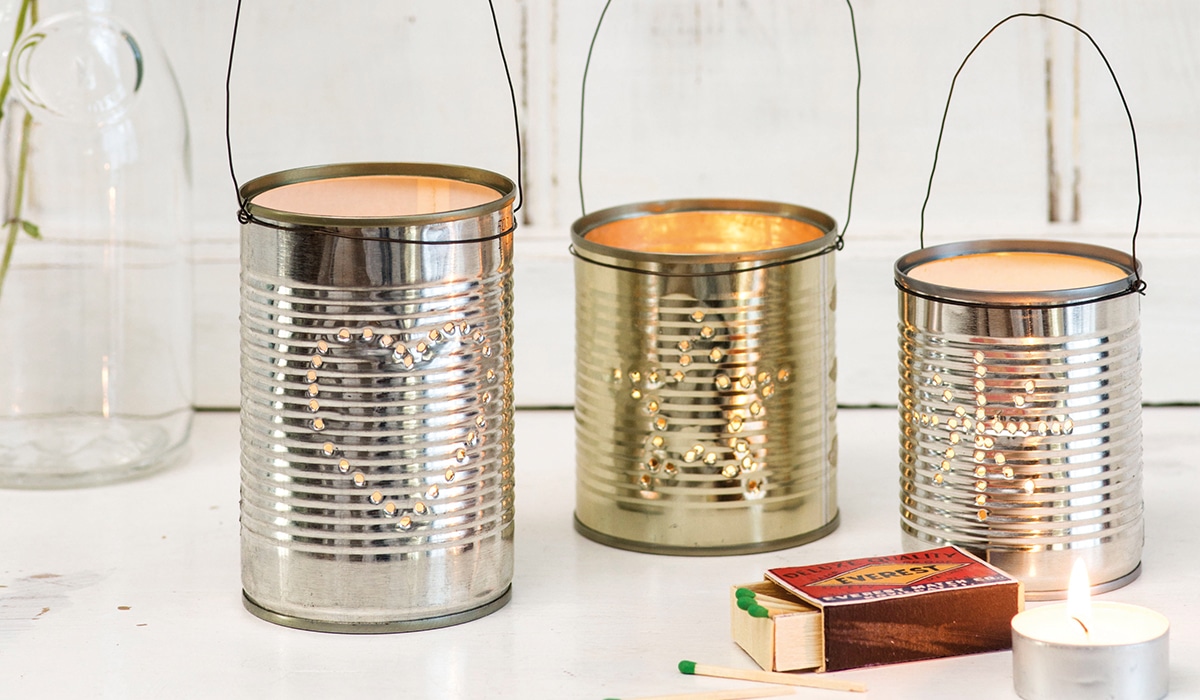
5. Can-do attitude
The idea Cheap, cheerful and upcycled, tin cans are easily transformed into festive candleholders that look pretty and let a little light shine through.
How to
- Clean and dry tin cans in a range of sizes, removing all labels.
- Using a permanent marker, create the shapes of seasonal classics such as hearts, stars, snowmen and simple snowflakes. Remember: Don’t draw the shape as a solid image. Instead, ‘draw’ out your shape with dots. These will help guide you when it’s time to punch out holes.
- Using a small drill bit or hammer and a nail, punch-out holes to create your shape.
- Pop in a tea-light candle, turn the dimmer down and voilà – you’ve got instant holiday ambience.
Top tip
Secure thin binding- or craft wire around the top of your tea light holders to create a ‘handle’. To evoke a magical atmosphere in the garden, hang them up in the trees or courtyard.
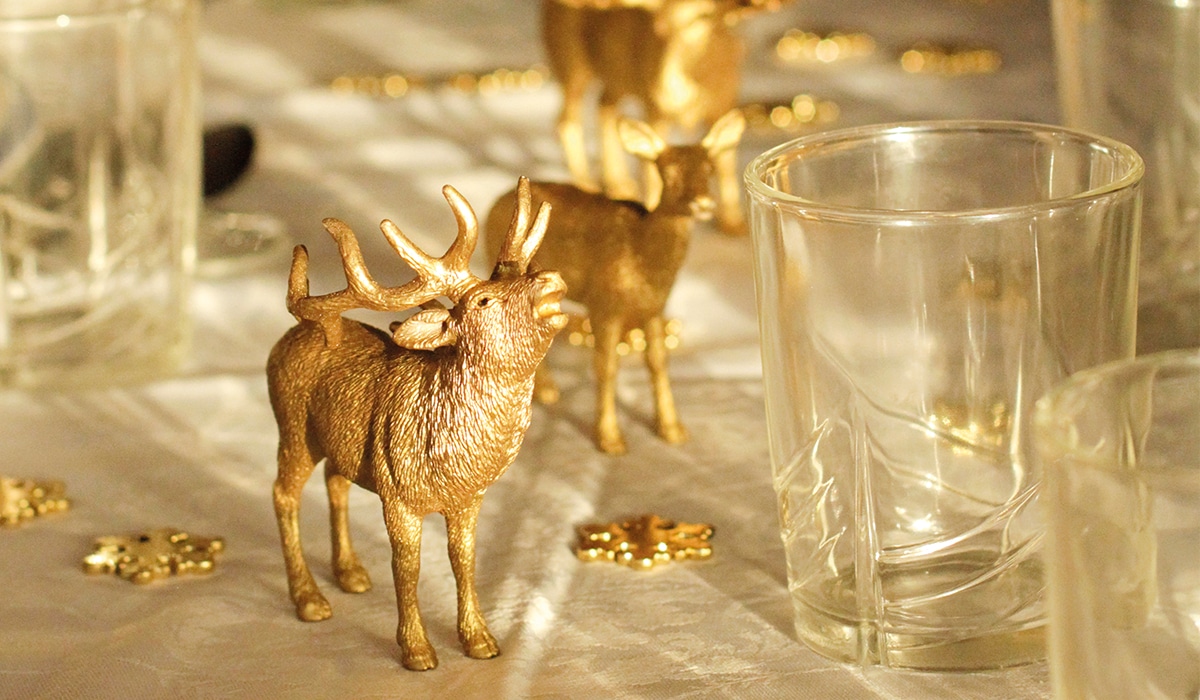
6. Animal Crackers
The idea
Is it really Christmas without a touch of kitsch? We love these ornate, repurposed spray-painted toy animal place holders with a touch of bling.
How to
- You know those toy lions and tigers and bears (oh my) that you keep standing on in the living room, passage, kitchen, bathroom…? Gather them up and get busy with spray paint, tinsel, tassels and ribbon.
- Spray-paint the plastic animals, then attach place-setting name tags using craft paper (punch a hole) and string.
- Embellish the menagerie with offcuts of tinsel, tassels, pretty ribbons and even beads.
Top tip
Many retailers and Chinatown shops have packs of animal toys in abundance. Dinosaurs – given the same makeover treatment – make for a whacky prehistoric alternative.

7. It’s a wrap
The idea Furoshiki are traditional Japanese cloths used to wrap goods and gifts with a distinctive knot-binding. Attractiveness, originality and eco-friendliness aside, the receiver gets a cute bonus gift to use as a head scarf or neckerchief, or to tie onto a handbag as a flamboyant accent.
How to
- Pop into your local fabric shop for plain or patterned silk-, cotton-, rayon- or nylon fabrics and buy by the metre. Check the bargain bin for offcuts and clearance stock.
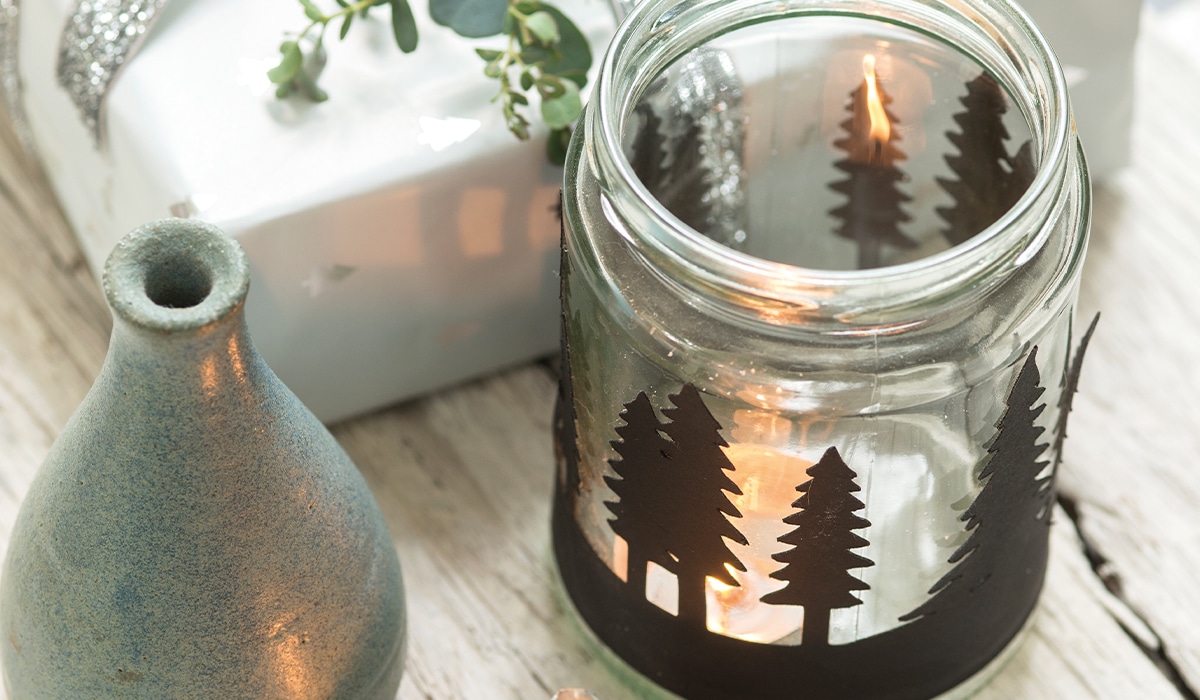
8. Lights Fantastic
The idea
Whimsical DIY silhouette tea light holders for a calming yet festive energy.
How to
- Optional: spray glass jars in various sizes with Rust-Oleum Frosted Glass Spray Paint or Krylon Sea Glass Spray Paint, following user instructions (available from hardware or speciality craft shops or online). Allow to dry.
- Using black craft or poster paper, use a boxcutter or craft knife on a chopping board or similar surface to carefully create a quaint village scene, snowflakes or any festive design of your liking.
- Neatly stick your paper around the base of the jars.
- Insert tea-light candles and display en masse in the entrance hall, on a tablescape or mantlepiece, or down the centre of the dining table along with Christmassy knick-knacks.
Words By: Mandy Allen
Photographs: Future, Getty Images