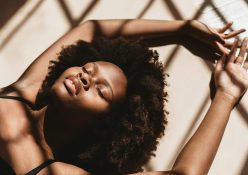
Have you ever completed a hairstyle and wondered what’s missing? Well, that’s probably because your edges haven’t been dealt with.
For beloved actresses like Grown-ish star Yara Shahidi, and beauty influencers like Lungile Thabete, a look is never complete until your baby hairs are swooped to the side, slicked down, or gelled over. And we couldn’t agree more!
These days laid edges are the ‘in thing’, and they’re super-easy to achieve no matter the length or texture of your hair. Take some time to get comfortable with the idea and then experiment with different techniques and edge control gels until you find your perfect match.
Bear in mind, you don’t have to relax your hair with chemicals to get your baby hair in the flow. These four simple steps will have you laying those edges like a pro in no time.
TIP
Don’t have hair gel? You can imitate this process using hairspray and a toothbrush or fine-toothed brow comb. Make sure to saturate the bristles with a few spritzes of hairspray before going in on your tiny strands.
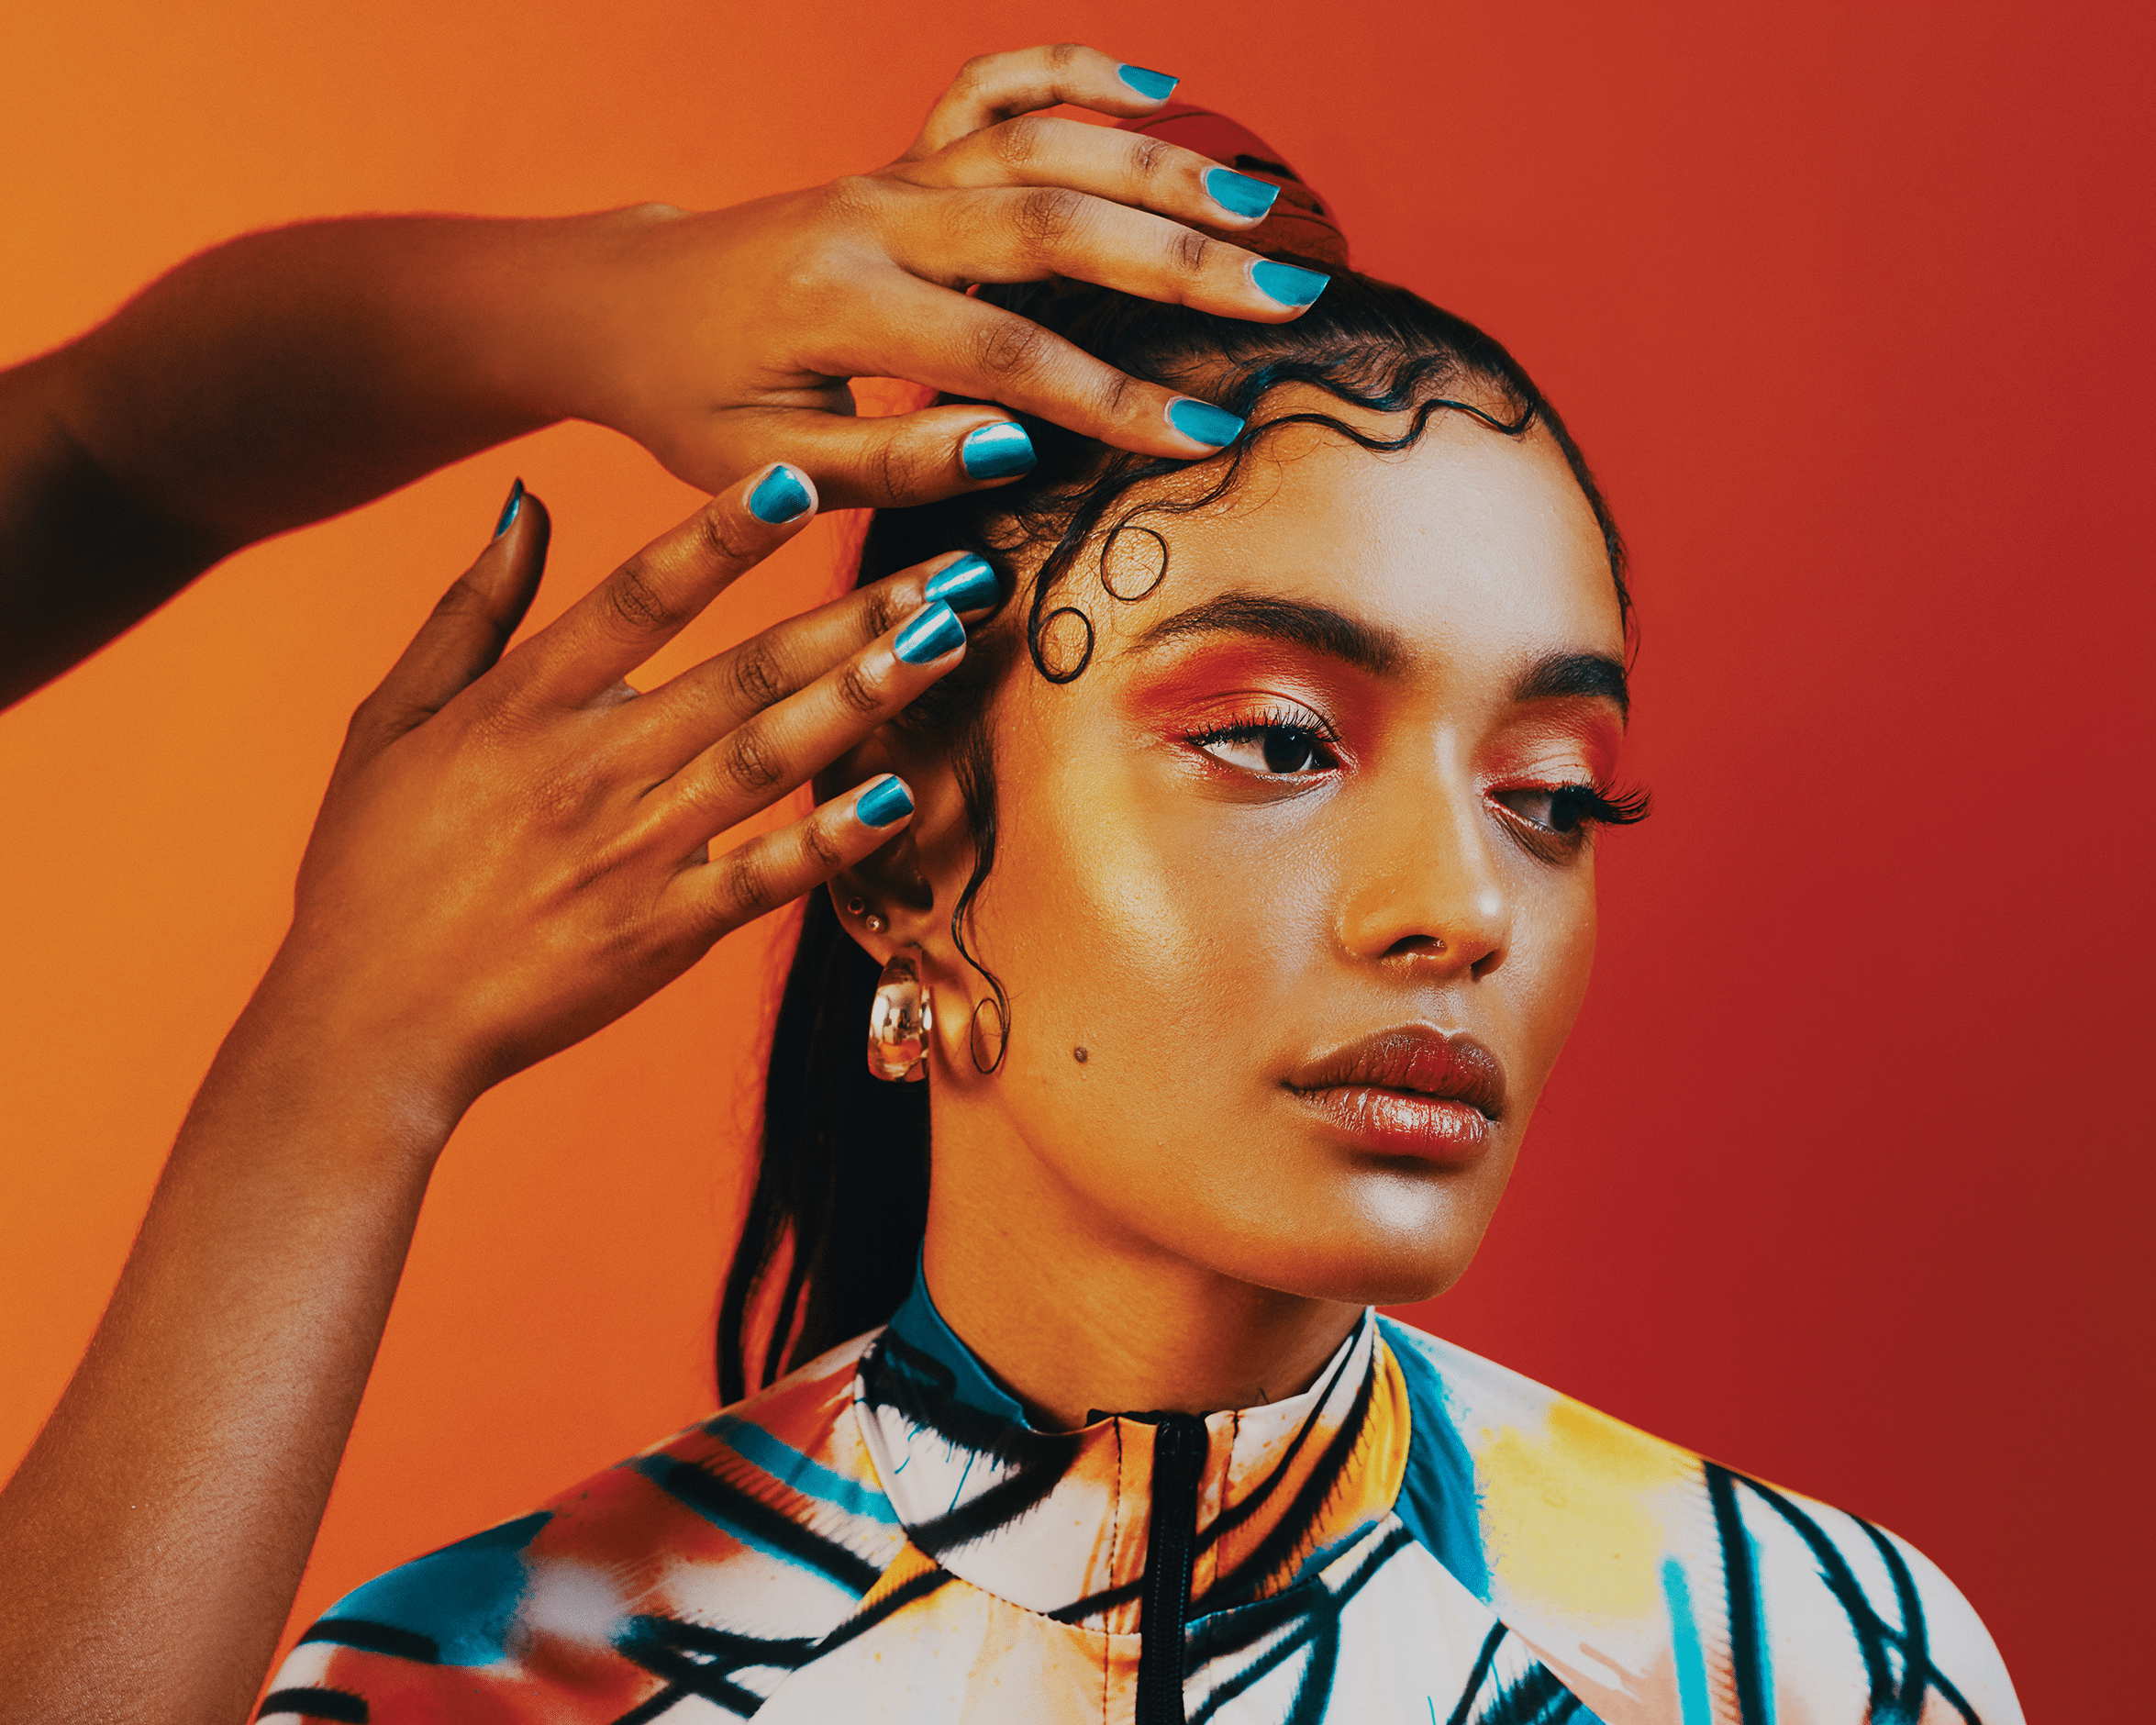
Edges 101
BABY HAIRS MAY SEEM PESKY AND OUT OF PLACE, BUT ONCE THEY’RE IN FORMATION, YOU’LL BE READY TO SLAY. ALL YOU NEED TO DO IS PERFECT THE ART OF EDGE CONTROL…
STEP 1:
The first and most important step is choosing your perfect hairstyle. Gather your tools and hair products and situate yourself in front of a mirror to see exactly where you’re placing product.
Once you’ve styled your hair as desired (whether it be a ponytail, bun or protective hairstyle), grab some hair gel with a lasting hold – those containing coconut oil or keratin are best for protecting your hairline and keeping your hair moisturised. Every hair gel product is different for each hair type, so read the ingredients and select the best variant for your hair type.
STEP 2:
Before you start applying your gel, be sure to brush those tiny baby hairs downwards and get them out of the way before taking an edge control brush, or clean toothbrush, to lay them down neatly, using gentle strokes. Baby hairs are wispy, so use a brush that allows you to smooth, sculpt and swirl the strands. This will make it easier to create loops and intricate patterns.
View this post on Instagram
STEP 3:
Too much gel will make your hair too wet, too messy to work with, and the dry-down will take forever. Use just enough to cover your edges. Slick your hair with your brush and smooth it with your fingers.
However, the technique may require some practise, so don’t get bummed out if you don’t get it right the first time around. Watching YouTube tutorials to get the hang of it are always helpful. Once finished, apply a small amount of oil or freeze spray to your hair to prevent it flaking.
STEP 4:
Wrap a silk or satin scarf around your edges until the gel dries. If you’re in a hurry and want this process to go faster, blow dry your edges (on the cool setting) while they’re wrapped.
This will keep them stretched while they dry, and they’ll be super sleek when you take the wrap off. You can also do this process before bed so that you’ll wake up with soft, smooth edges ready to conquer your day.
Words by Thuliyani Oxasheka
Photography: Gallo/Getty Images